# Quickstart
This guide takes you from installing PowerOn Pro to validating a PowerOn against your Symitar host. You can do this with the free version, which supports one connection. The optional Remote Sym workflow requires Plus.
## Installing PowerOn Pro
1. Open **Extensions** in VS Code and search for **PowerOn Pro**.
2. Select the extension published by **Libum** and choose **Install**, or **Update** if you already have it installed.
3. Select **PowerOn Pro** in the activity bar to open its sidebar.
You can also install it from the VS Code Marketplace.
## Getting connected to Symitar
Before starting, have your Symitar hostname, Sym number, AIX account credentials, and Symitar account credentials available. Your computer needs network access to the host, including any VPN required by your organization.
### Create a connection
Open **Connections** in the PowerOn Pro sidebar and select **New**. You can also run **PowerOn Pro: Manage Connections** from the Command Palette.
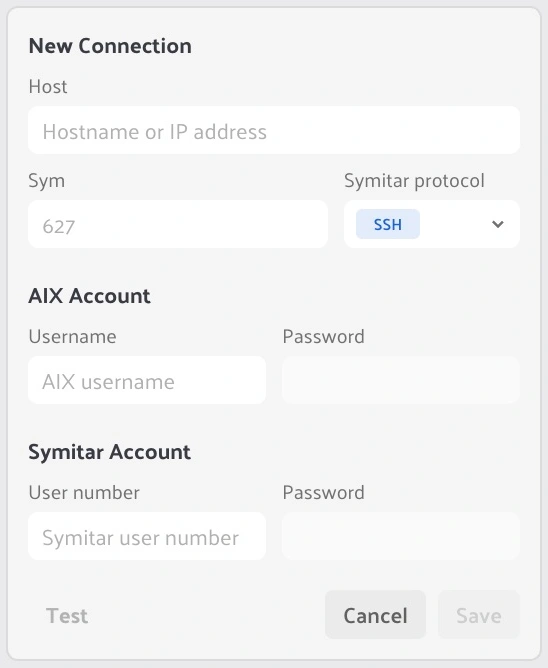
Fill in the **New Connection** form:
| Field | What to enter |
| --- | --- |
| Host | A hostname or IP address, such as `symitar.example.org`. Do not include a URL scheme or port. |
| Sym | The three-digit Sym number, such as `627`. |
| Symitar protocol | `SSH` is the only protocol currently supported by the Symitar connector. |
| AIX Account — Username | Your account name on the AIX host. |
| AIX Account — Password | The password for that AIX account. |
| Symitar Account — User number | Your Symitar user number, from one to four digits. |
| Symitar Account — Password | The password for that Symitar user. |
The AIX and Symitar accounts are separate credentials. Enter each in its own section. If your host uses a nonstandard `SSH` port, set `poweronPro.sshPortOverride` in VS Code settings; the default is `22`.
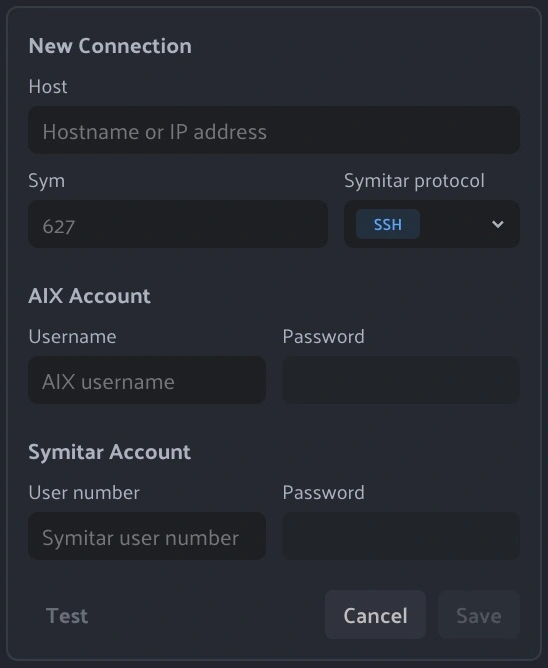
Set up your host and Symitar accounts in the Connections view.
### Test and connect
1. Select **Test** to check the connection details.
2. If a host identity prompt appears, verify the displayed fingerprint with your administrator before trusting it. A changed fingerprint should also be verified before accepting the replacement.
3. Look for **Connection verified**, then select **Save**.
4. Select the saved connection card to connect. Hover over the status indicator beside the Symitar icon on the card; its tooltip reads **Connected** once the connection is ready. Wait for that state before running host commands.
Testing a profile checks its details; it does not replace saving and connecting to it. If testing fails, review the message and use its **Output** link for details. Correct the profile and test again.
**Using the free version?**
Free supports one connection. If you already have multiple saved profiles and see **Choose your Free connection**, select the one you want to use. Other profiles remain saved and are available with Plus. Open **Account & Help** to sign in and manage subscription access.
### Work locally or reconnect automatically
Turn on **Work Locally** in Connections when you want to edit without a host connection. Host validation and deployment require a connection.
Enable **Auto-connect** if you want PowerOn Pro to reconnect this workspace's selected connection on startup. **Work Locally** takes precedence over Auto-connect.
## Validate your first PowerOn
1. Open a saved PowerOn file in VS Code and confirm its language mode is **PowerOn**.
2. Check that the intended Sym is connected in **Connections**.
3. Run **PowerOn Pro: Validate PowerOn** from the Command Palette.
4. Review the validation result and address any errors before deploying.
With Plus, Realtime diagnostics also appear as you type. Those checks do not require an on-host validation request, but you should still validate against the target Sym before deployment.
### Deploy when ready
Run **PowerOn Pro: Deploy PowerOn…** to deploy the file, or **PowerOn Pro: Deploy and Install PowerOn** when you also want to install it. Review the target connection and any prompts before proceeding: these commands change files or installation state on the host.
## Clone PowerOns to work locally or offline
**Clone Sym Directory** downloads a one-time copy of a host directory and is available with Free. You do not need Plus or a managed Remote Sym to use it.
1. Connect to the Sym containing your PowerOns.
2. Run **PowerOn Pro: Clone Sym Directory...** from the Command Palette.
3. Select **PowerOns**. You can also clone DataFiles, HelpFiles, or LetterFiles separately.
4. Choose an empty local folder for the download. PowerOn Pro requires an empty destination to avoid overwriting existing files.
5. When the download finishes, select **Open in New Window**, or open the folder yourself in VS Code.
6. Enable **Work Locally** in Connections to edit without a host connection.
The downloaded PowerOns and include files are local copies. Core language tools remain available offline; reconnect when you need host validation, deployment, or installation.
Cloning does not create a managed Remote Sym or keep files synchronized. Use [Remote Syms](/docs/poweron-pro/capabilities#remote-syms) when you want managed synchronization and incoming change review. For a single file, use **PowerOn Pro: Download PowerOn** instead of cloning the directory.
## Setting up a Remote Sym
A Remote Sym gives you a local workspace for selected directories on a Symitar host. This workflow requires Plus; it is not required to validate or deploy an individual local PowerOn file.
1. Open **Account & Help** and sign in with an account that has Plus access.
2. Run **PowerOn Pro: Select Local Symitar Path** and choose where PowerOn Pro should store your local Sym folders. You can also use **Update Symitar Path** if that prompt appears in Remote Syms.
3. Open **Remote Syms** and select **New**.
4. Choose a Sym from **Available Connections**.
5. Select the directories you need: **PowerOns**, **DataFiles**, **HelpFiles**, or **LetterFiles**. PowerOns is selected by default.
6. Select **Save**, then open the Remote Sym from its card. Use **PowerOn Pro: Sync Remote Sym** when you want to synchronize it.
Remote Syms synchronize automatically when the workspace opens and its connection is ready. This is controlled by `poweronPro.remoteSyms.syncOnOpen`, which defaults to `true`. Disable it if you prefer to start synchronization manually.
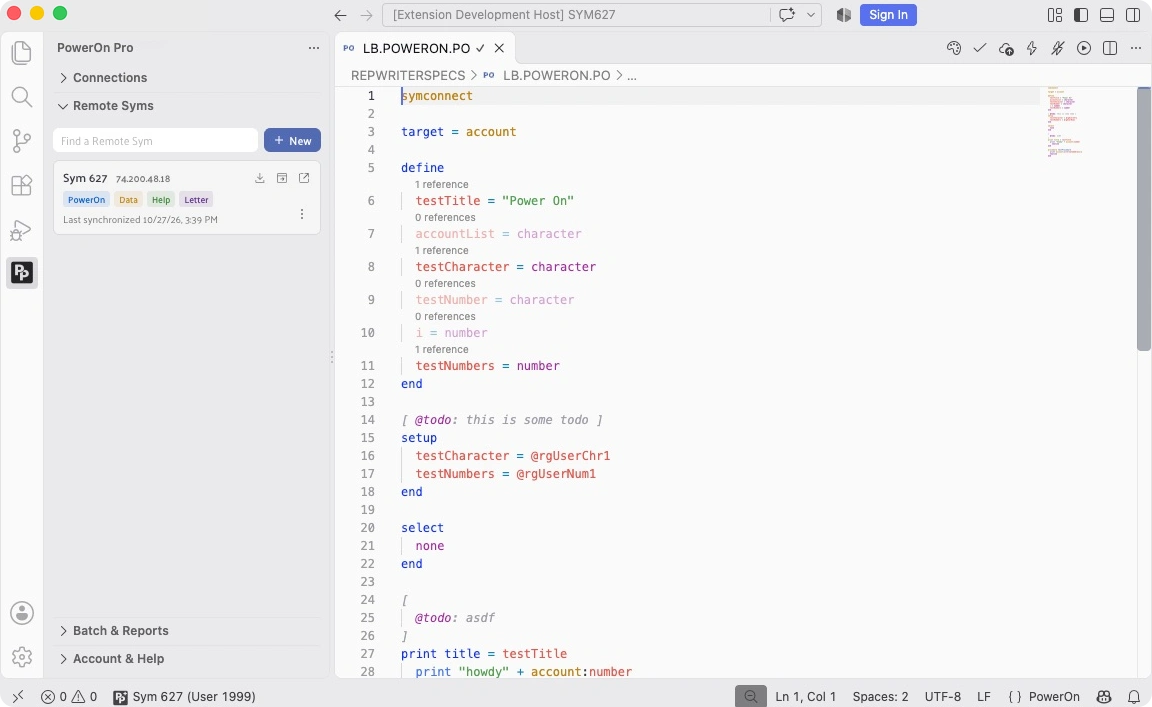
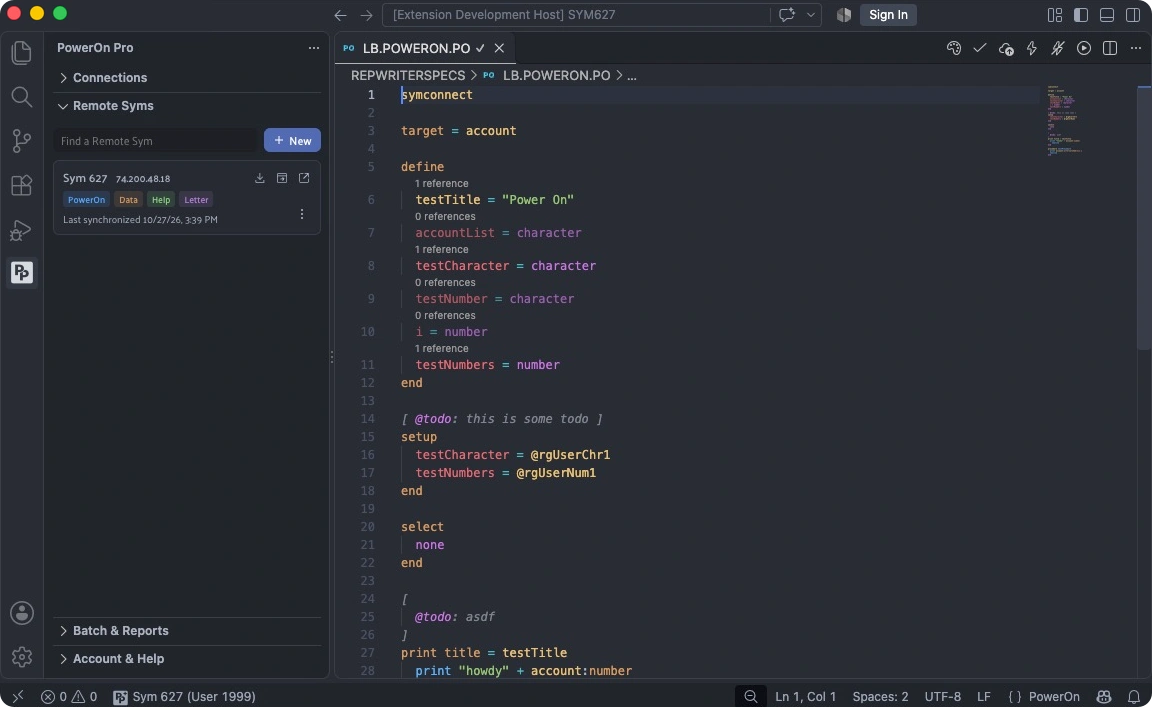
Your selected Symitar directories, ready to work with in VS Code.
**SFTP is the default sync method.**
You do not need WSL or rsync for the default SFTP workflow. If you choose `rsync` in `poweronPro.syncMethod`, additional local tools are required. The [Rsync setup guide](/docs/poweron-pro/how-tos/setting-up-rsync-on-windows) covers Windows, macOS, and Linux.
## TL;DR
* Install **PowerOn Pro** and open its sidebar.
* In **Connections**, select **New**, enter both accounts, **Test**, and **Save**.
* Connect to the saved profile, then run **PowerOn Pro: Validate PowerOn** on a saved file.
* Use **Deploy PowerOn…** or **Deploy and Install PowerOn** when ready to change the host.
* To work offline with Free, use **Clone Sym Directory...**, then enable **Work Locally**.
* With Plus, set a local Symitar path and create a **Remote Sym** for directory synchronization.
For help, join the Libum Community or email [development@libum.io](mailto:development@libum.io).