PowerOn Pro brings a complete language server, direct integration to Symitar, and an incredible UX to level up your credit union's development toolkit through Visual Studio Code.
This quickstart is designed to help you get your first Symitar connection created in the PowerOn Pro extension. Through this quickstart, you will learn:
- How to get PowerOn Pro installed
- Overview of some of the basic concepts of PowerOn Pro
- How to use a Remote Sym
If you run into any challenges or have questions getting started, please join our Libum Community on Discord.
Installing PowerOn Pro
There are two methods for installing the PowerOn Pro extension.
- Using the install link on the Visual Studio Marketplace (ref. PowerOn Pro)
- Selecting the Extensions button (
 ) in VS Code and searching for "poweron pro"
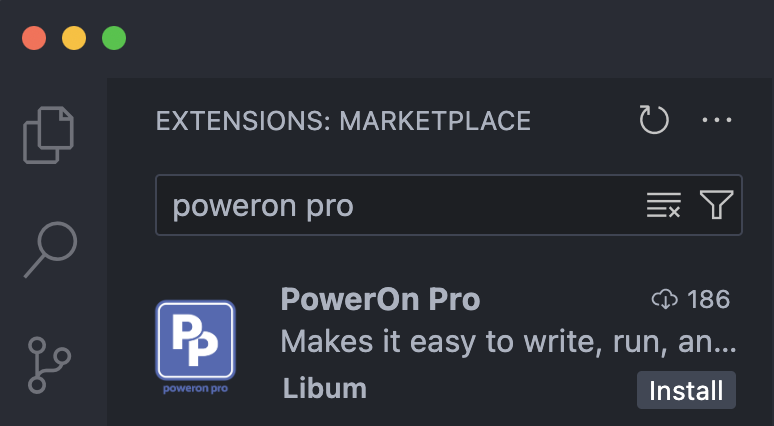
The PowerOn Pro extension via Marketplace in VS Code.
Getting connected to Symitar
Start by clicking the PowerOn Pro logo (  ) on the bottom left of the VS Code status bar. This will launch the PowerOn Pro menu for you to be able to manage your connections.
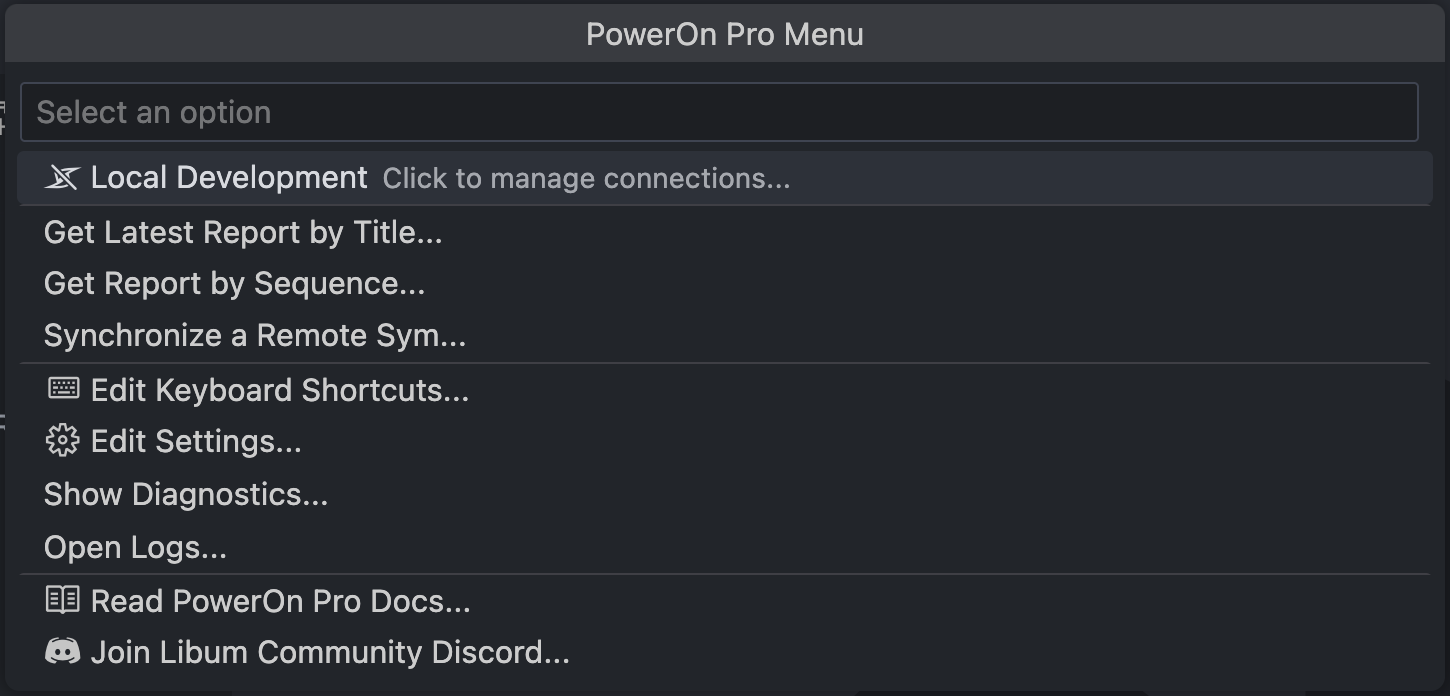
Main menu for PowerOn Pro.
Next, select "Click to manage connections..."

Manage Symitar Connections menu in PowerOn Pro.
Select "Add new Connection +" followed by either "SSH" or "HTTPs" depending on your connection preference and capability of your Symitar host.
Required input (SSH)
This provides a brief overview of each input box you'll receive while creating an SSH connection.
| Field | Description | Example |
|---|---|---|
| Symitar Hostname | The endpoint by which you connect to the Symitar host | 93.455.43.232 or symitar |
| Symitar Username | Your username for the AIX / Symitar host | libum |
| Symitar Password | Your password for the AIX / Symitar host | hunter2 |
| Sym Number | The directory (aka Sym) number for your connection | 627 |
| Symitar User Number | Your "Symitar Quest" user number (just the number) | 1995 |
| Symitar User Password | Your "Symitar Quest" password (just the password) | {symx-user-password}1 |
Once you've gone through the prompts, you should expect to see (  ) in the status bar of VS Code (bottom left). Anything different means you may have had an issue connecting or have only be able to establish a partial connection.
Required input (HTTPs)
Please refer to the Required input (SSH) for the context on the majority of the required inputs as they're nearly identical with the exception of the following:
| Field | Description | Example |
|---|---|---|
| Symitar Application Server Port | The port which your SymAppServer communicates over. This is typically |
42627 |
Setting up a Remote Sym
From the activity bar (on the left-hand side), select the Symitar Explorer button (  ) and if you've already followed Getting connected to Symitar as well as the required dependencies installed on your machine, you should see the "Open Remote Sym" in the view.
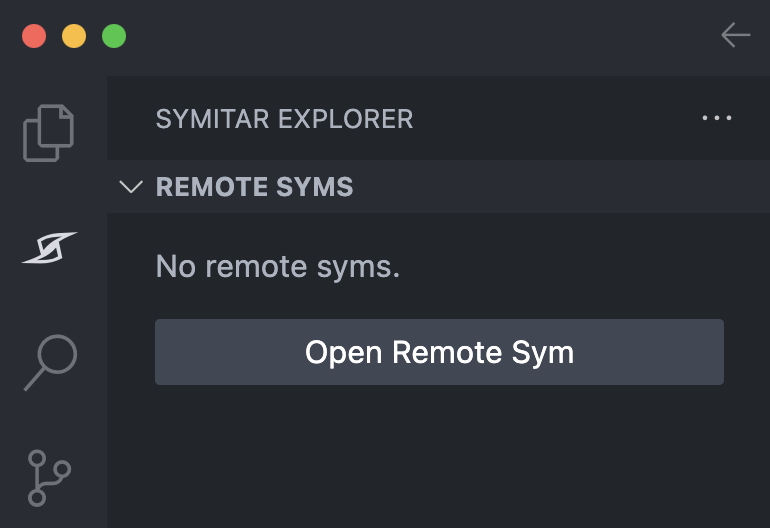
Remote Syms view within Symitar Explorer activity panel.
Select "Open Remote Sym" and you should expect to see a menu giving you a selection from available Symitar connections.

Open Remote Sym menu with a single available Symitar connection.
After selecting the preferred connection, you will find a list of available Syms (based on the individual connections you've created) as a menu as well.

List of available Remote Sym connections in the Open Remote Sym menu.
Selecting a Remote Sym here will automatically do the following:
- Create a new directory (
/<symitarHostname>/<symNumber>) using the configured Local Symitar Path as the root - Update the VS Code workspace at that local folder
- Begin synchronizing the configured directories (e.g.
/HELPFILES,/LETTERSPECS, or/REPWRITERSPECS)
TL;DR
All of the available commands within PowerOn Pro are listed on the PowerOn Pro Commands page and can also be listed by opening up the Command Palette (Ctrl + Shift + P) and typing "PowerOn Pro".
- To create a connection (SSH or HTTPs), use the
Manage Symitar Connectionscommand - If you want to open a Remote Sym you'll need first set a root path in the Local Symitar Path setting as well as have both
rsyncandsshpassutilities viaWSL(ref. Setting up Rsync on Windows)
 Fun fact, this is the actual password to our User for our NexumAPI Playground. If you work with SymX and don't know what NexumAPI is, take a peek.